

How to Build a Last-Minute Look From Ready-to-Ship Pieces
A last-minute costume succeeds when every choice reduces uncertainty. Start with pieces already in your closet or products whose live pages show current availability, then build a simple outfit you can fit, test, and pack before the event. The goal is not to collect the most details. It is to arrive with a complete look that moves safely and stays comfortable.
Use this plan for a LARP, Renaissance faire, convention, or costume party. Always confirm event rules and delivery timing yourself, because a product described as ready to ship can sell out before you order.
Confirm live availability before planning the look
Open the product page and check the exact size, color, option, included pieces, and current availability. Do not plan around a search result, an old saved link, or the wording in a product title. Inventory can change, and a visually similar option may have different measurements or contents.
If the event is close, confirm the delivery estimate at checkout and leave room for delays. A confirmed in-stock item is still not useful if it arrives after you leave. When timing is uncertain, build around something already in hand and treat any new purchase as optional.

Choose one anchor piece
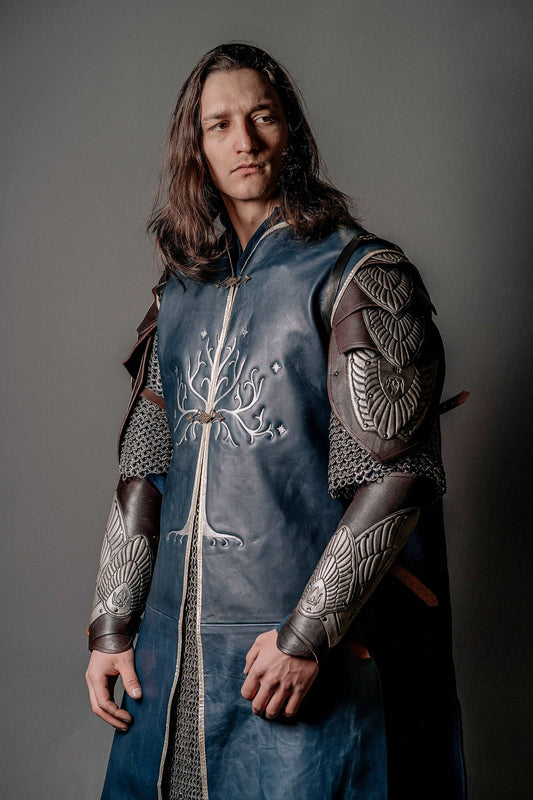
Give the outfit one item that establishes the silhouette: a tunic, coat, dress, cloak, or armor layer. Everything else should support that piece. A strong anchor reduces the temptation to combine unrelated accessories simply because they can arrive quickly.
Browse the costume collection for complete silhouettes, or use the collection directory to compare separate categories. Check each live listing rather than assuming every photographed component is included.
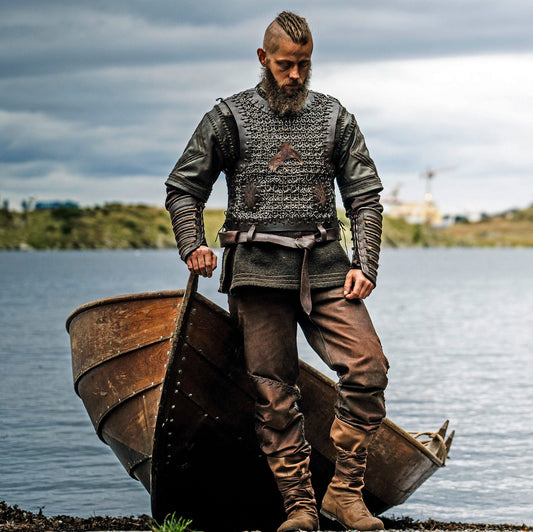
The dark tunic with chainmail sleeves is a useful fixed-size example, but its only SKU was unavailable when this guide was checked. Its listing can still show how a single tunic creates a clear medieval outline; it should not be treated as a current ready-to-ship recommendation.
Compare finished-garment measurements
For a fixed-size item, compare its listed garment measurements with a similar garment that fits you over the planned underlayers. Body measurements and finished-garment measurements are not interchangeable. A chest measurement taken around your body does not tell you how much room the finished tunic provides.
The unavailable example above lists finished measurements of 108 cm at the chest, 112 cm at the hip, a 50 cm sleeve, and 76 cm total length. Those numbers are more useful than the XXL label alone. If a listing requests body measurements instead, follow the SokolArmory measurement guide and wear the same base layers you expect at the event.

Use base layers you already trust
Start with a breathable shirt, trousers or skirt, socks, and footwear that you have worn before. Keep the palette restrained so the anchor piece remains clear. Black, brown, gray, cream, and muted earth colors are easier to coordinate under time pressure than several competing accents.
Avoid a brand-new base layer if you cannot test it. An unfamiliar collar can rub under armor, a thick sleeve can restrict a fitted outer layer, and trousers that feel fine indoors may bind after an hour of walking. Washable, proven garments make a better foundation than an elaborate last-minute substitute.
Add only practical accessories
A belt can define the waist and carry a small pouch. Bracers or gloves can finish the forearms. A cloak can add a strong outer line when weather and event rules allow it. Stop after two or three supporting details and check the complete silhouette before adding more.
Load pouches with their actual contents and secure loose strap ends. Keep keys, medication, identification, and water accessible. Do not hang heavy or sharp objects from a costume belt, and do not bring a prop until you have read the current venue policy.
Test the complete outfit
Dress in the exact order you will use on event day. Walk, sit, climb a few safe steps, raise both arms, reach forward, turn at the waist, and kneel if the event requires it. Check for pressure at the neck, shoulders, waist, wrists, and behind the knees.
Wear the outfit for at least twenty minutes. Heat, slipping belts, noisy hardware, and restricted reach often appear only after the first few minutes. Photograph the front, side, and back to catch twisted straps, uneven hems, and gaps you cannot see in a mirror.
Check weather and event rules
Read the organizer's current guidance for armor, replicas, masks, footwear, bags, and changing areas. A piece accepted at one event may not be allowed at another. If inspection is required, keep closures and any relevant documentation easy to reach.
Prepare one weather adjustment. For heat, know which outer layer can come off without leaving the costume unfinished. For rain, protect leather and metal as appropriate and pack dry socks. For cold, confirm that an extra base layer still fits under the anchor garment.
Pack a complete backup plan
Lay out the costume in dressing order, then place each item in the bag only after checking it off. Pack spare laces, basic sewing supplies, material-appropriate repair items, and a plain backup layer. Do not attempt a structural leather or metal repair at the event unless you have the right skills and tools.
Keep screenshots or notes of the final outfit and packing list on your phone. If one optional accessory fails, remove it and continue with the tested core outfit. A simpler complete look is stronger than a complicated costume held together by emergency fixes.
Last-minute costume checklist
- Confirm the exact option is available on the live product page.
- Verify delivery timing before relying on a new purchase.
- Choose one anchor garment or armor layer.
- Compare measurements with a similar item that fits.
- Use tested base layers and footwear.
- Limit accessories to a few functional details.
- Run a full movement and comfort test.
- Review current event and prop rules.
- Prepare one weather adjustment.
- Pack in dressing order with a written checklist.
- Bring a simple backup layer.
Speed comes from making fewer, better-verified decisions. Build around what is truly available, trust measurements over size labels, and give yourself enough time for one complete rehearsal before the event.



User Name 2 Days ago
Lorem ipsum dolor sit amet, consectetuer adipiscing elit. Aenean commodo ligula eget dolor.